Organizing email’s inbox is probably the most frustrating thing because there’s a lot of clutter coming from unnecessary spam, updates, and bots. With email marketing and newsletters coming daily, the unread messages can reach hundreds in just a week or two.
Good thing, Gmail has a number of features to let you declutter your inbox and organize everything easily. Doing so helps to not miss out on any important email, and manage your priorities. When everything’s organized, you can easily monitor every email and be more productive.
For people who are using their email for work, it takes quite a while to fine-tune the organization. Here are some of the top tricks to organize the Gmail inbox. These tricks allow you to save time sifting through hundreds of emails in one go and declutter the inbox altogether.
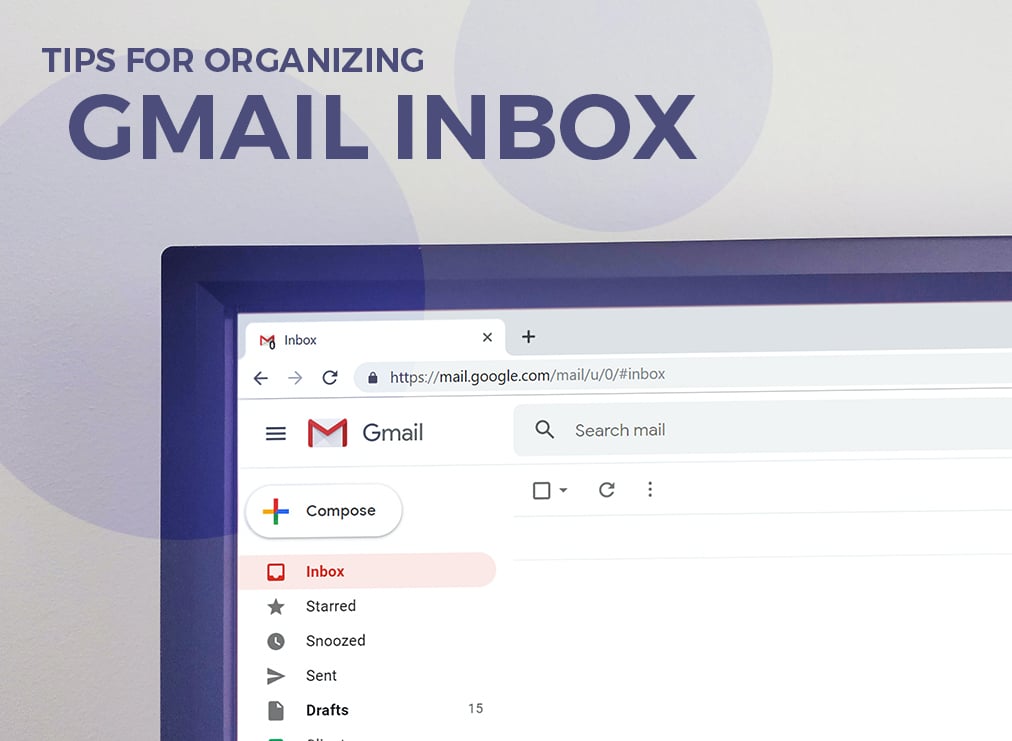
Select Preferred Layout
Gmail has this feature wherein you can organize the emails on your preferred layout. Generally, there are five major layouts in Gmail: default, important first, unread first, starred first, and priority inbox.
When opening the inbox, click on the gear button located in the upper right corner, and select Settings. Choose the Inbox tab and select the preferred layout. The default setting organizes email by date received.
Meanwhile, the important first layout displays messages that are deemed by Gmail as most important. These are marked as yellow on the inbox. Unread first includes all messages you haven’t opened yet, and the bottom includes everything else.
Starred displays emails you’ve starred in the top view, while the priority inbox puts emails you’re most likely to interact with. Choose a layout that works for your preferences and requirements.
Add Preview Pane
The default view of the inbox section provides information on the sender, subject line, and a little bit of the text or message. With this, you still need to open the email to read its content and determine if there’s something worth reading.
By adding a Preview Pane, you can get a glimpse of the content of the email. Although it won’t show the whole content, you can still see what the email is about, instead of merely a subject line.
Organize the Gmail inbox by adding the Preview Pane. Click on the gear symbol then Settings. Select Labs then scroll down to Preview Pane. Choose to Enable then save the changes.
Create Custom Labels
Organize the Gmail inbox by creating custom labels on the left side of the panel. This feature allows users to assign labels and create subfolders when saving files. You even have the option to color code the labels to easily distinguish which ones are considered a priority.
Once labels are created, you’ll notice that it adds a folder in the list on the left side of the inbox. The name of the label is next to the subject line.
Create Filters
There’s also an option to send some emails to certain folders so the general inbox is not cluttered. You can use the filters to send the message or email to a specific folder where you can check it later.
First, select the emails you wish to filter then click on the More button at the top of the inbox. Select ‘Filter messages like this’ on the drop-down menu. From here, you can already select to filter messages by sender, subject line, keywords, and media or attachments.

Conclusion
Organizing your Gmail inbox helps to declutter your messages in the cloud and attend to priority emails without any problem. By choosing a preferred layout, creating filters, custom labels, and adding a preview pane, you can organize emails easily.